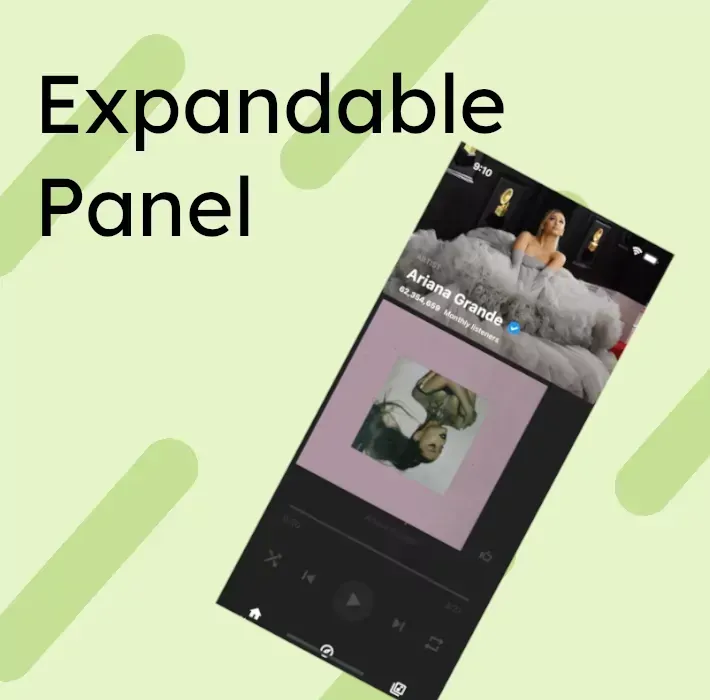
Last week, I published a small video on Twitter that gained a lot of reactions:
I'm having some more fun with the music player I created a couple of weeks ago in @FlutterDev!
— BeGuillaume ? (@BeGuillaume) April 3, 2022
Smooth transitions for the expanded player ?
Code below ? pic.twitter.com/x9vGjNHID3
This article will explain how I achieve this effect that you can find in almost all music players.
The Expandable Bottom Sheet
I used this package to achieve the same example, but the ExpandableBottomSheet didn't expose a way to get the current offset, so I copied the code and adapted it.

/// [onOffsetChanged] will be executed if the offset changes.
/// (offset, minOffset, maxOffset)
final Function(double?, double?, double?)? onOffsetChanged;
You can dive into the code here to see how it was implemented, but it was pretty simple.
Then I could use it like that:
body: ExpandableBottomSheet(
  background: CustomScrollView(
    ...content of the first tutorial
  ),
  persistentContentHeight: 64,
  expandableContent: Player(percentageOpen: _percentageOpen),
  onOffsetChanged: (offset, minOffset, maxOffset) {
    if (maxOffset == null || offset == null || minOffset == null) {
      return;
    }
    final range = maxOffset - minOffset;
    final currentOffset = offset - minOffset;
    setState(() {
      _percentageOpen = max(0, 1 - (currentOffset / range));
    });
  },
  enableToggle: true,
  isDraggable: true,
),
The BottomNavigationBar
To make the BottomNavigationBar disappear as I'm scrolling; I wrapped the bar in a SizedBox and added a SingleChildScrollView to prevent overflowing pixels.
SizedBox(
  height: max(0, (1 - _percentageOpen) * _maxSizeBottomNavigationBar),
  child: SingleChildScrollView(
    child: BottomNavigationBar(
The Player
To create the animation between the open and the closed Player, I used a straightforward Stack and two Opacity widgets. I tweaked the values to have the perfect fade in and fade out:
/// Closed player
opacity: max(0, 1 - (percentageOpen * 4)),

/// Open player
opacity: percentageOpen > 0.5
	? min(1, max(0, percentageOpen - 0.5) * 2)
	: 0
Finally, the picture is above the two other widgets and has a growing height that will take the correct size.
final imageHeight = 64 + (percentageOpen * height * 0.5);Conclusion
I hope you liked this small walk-through on how I achieved the visual effect. If you want to see the complete code, it's right here.
You can subscribe to my newsletter below or follow me on Twitter to not miss any of my following articles.

