


Firestore is one of the most convenient database services out there. You don't need to set up tables. You don't need to run migrations. You can just start saving your data in whichever format you like.
When you're building a project for a client or even for yourself, you often need to spend some time building a proper admin interface. The current Firestore interface is just not powerful enough. It lacks clarity for non-technical users, and most importantly, you don't have any data validation. If you forget to add a property, your app may malfunction.
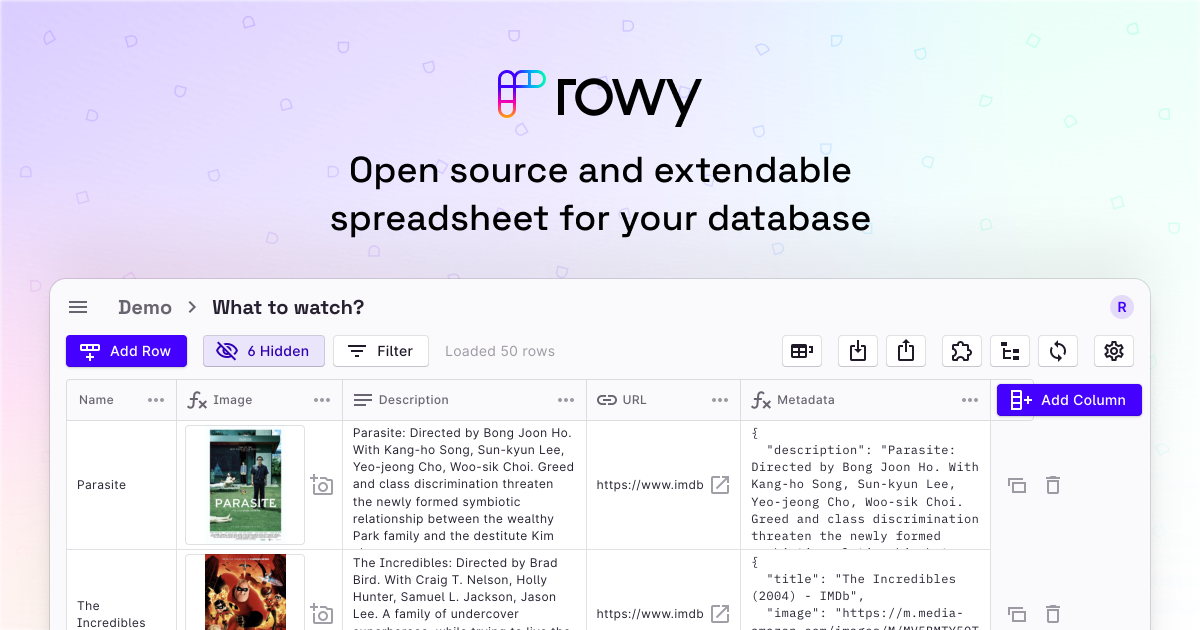
Rowy is a complete Firestore Admin Interface that can help with all that. Once you've set up the different fields of your collection, you can easily add documents without worrying about missing or wrong data.
But one thing that isn't addressed directly by Rowy is connecting t collections between them. One of the most frustrating parts of administrating an app is copying and pasting document ids in different parts of your database.
One option offered by Rowy is to export the data to Algolia. You'll then be able to link the data. But if you want to be able to select documents from another collection with a simple dropdown, without paying for another service, then keep reading! That is what your admin interface will look like at the end of this tutorial.
Firestore architecture
Let's suppose for this article that we have 2 collections.
userswhich holds all the information on your users. The documents in this collection only have one field:name.articlesin which your users can collaborate to create articles.
Imagine that from your admin interface, you want to add a user to an article without having to copy and paste its id. This is a really simple use case that may happen every day.
Setup a Cloud Function
Since Rowy is fully hosted on GCP, it only makes sense to use a Firebase Cloud Function to access your data.
If you don't have any function initialized for your Firebase project, you just have to run
firebase init functionsto get the project running. I would advise choosing TypeScript over JavaScript to enjoy all the benefits of typesafe.
You can then edit the src/index.ts file and remove the default function. We first need to create an endpoint to get all the users.
/*
 * List the users of your database
 * Limit to 20 results
 */
export const listUsers = functions
  .region("europe-west1")
  .https.onRequest(async (req, res) => {
    res.set("Access-Control-Allow-Origin", "*");

    if (req.method === "OPTIONS") {
      // Send response to OPTIONS requests
      res.set("Access-Control-Allow-Methods", "GET");
      res.set("Access-Control-Allow-Headers", "Content-Type");
      res.set("Access-Control-Max-Age", "3600");
      res.status(204).send("");
      return;
    }

    const searchQuery = req.query.q as string;

    let firestoreRequest: admin.firestore.Query = admin
      .firestore()
      .collection("users");

    if (searchQuery != null && searchQuery !== "") {
      const end = searchQuery.replace(/.$/, (c) =>
        String.fromCharCode(c.charCodeAt(0) + 1)
      );

      firestoreRequest = firestoreRequest
        .where("name", ">=", searchQuery)
        .where("name", "<", end);
    } else {
      firestoreRequest = firestoreRequest.orderBy(
        "_updatedBy.timestamp",
        "desc"
      );
    }

    const results = (await firestoreRequest.limit(20).get()).docs.map((e) => ({
      name: e.data().name,
      id: e.id,
    })) as {
      name: string;
      id: string;
    }[];

    res.send({ data: { results } });
  });
Let's explain the function step by step:
export const listUsers = functions
  .region("europe-west1")
  .https.onRequest(async (req, res) => {
    res.set("Access-Control-Allow-Origin", "*");

    if (req.method === "OPTIONS") {
      // Send response to OPTIONS requests
      res.set("Access-Control-Allow-Methods", "GET");
      res.set("Access-Control-Allow-Headers", "Content-Type");
      res.set("Access-Control-Max-Age", "3600");
      res.status(204).send("");
      return;
    }
We first start to define an HTTP endpoint in the europe-west1 region. Since Rowy sends all requests as POST we need to define an OPTIONS response. For simplicity, we set the Access-Control-Allow-Origin to wildcard.
    const searchQuery = req.query.q as string;

    let firestoreRequest: admin.firestore.Query = admin
      .firestore()
      .collection("users");

    if (searchQuery != null && searchQuery !== "") {
      const end = searchQuery.replace(/.$/, (c) =>
        String.fromCharCode(c.charCodeAt(0) + 1)
      );

      firestoreRequest = firestoreRequest
        .where("name", ">=", searchQuery)
        .where("name", "<", end);
    } else {
      firestoreRequest = firestoreRequest.orderBy(
        "_updatedBy.timestamp",
        "desc"
      );
    }
We then get the content of the text input from Rowy stored in the request's query. If it's not empty we can search in the collection by filtering by name. Since it's Firestore, we only have a simple text search.
_updatedBy field, if not, you can orderBy something else.We could load all the data and filter it directly in TypeScript but if you get a lot of users it could be a costly solution.
    const results = (await firestoreRequest.limit(20).get()).docs.map((e) => ({
      name: e.data().name,
      id: e.id,
    })) as {
      name: string;
      id: string;
    }[];

    res.send({ data: { results } });
We finally can do the request and send the results.
You then only have to deploy the Cloud Function. If you used the template from Firebase, you only need to run npm run deploy to deploy your function.
Link the function to Rowy
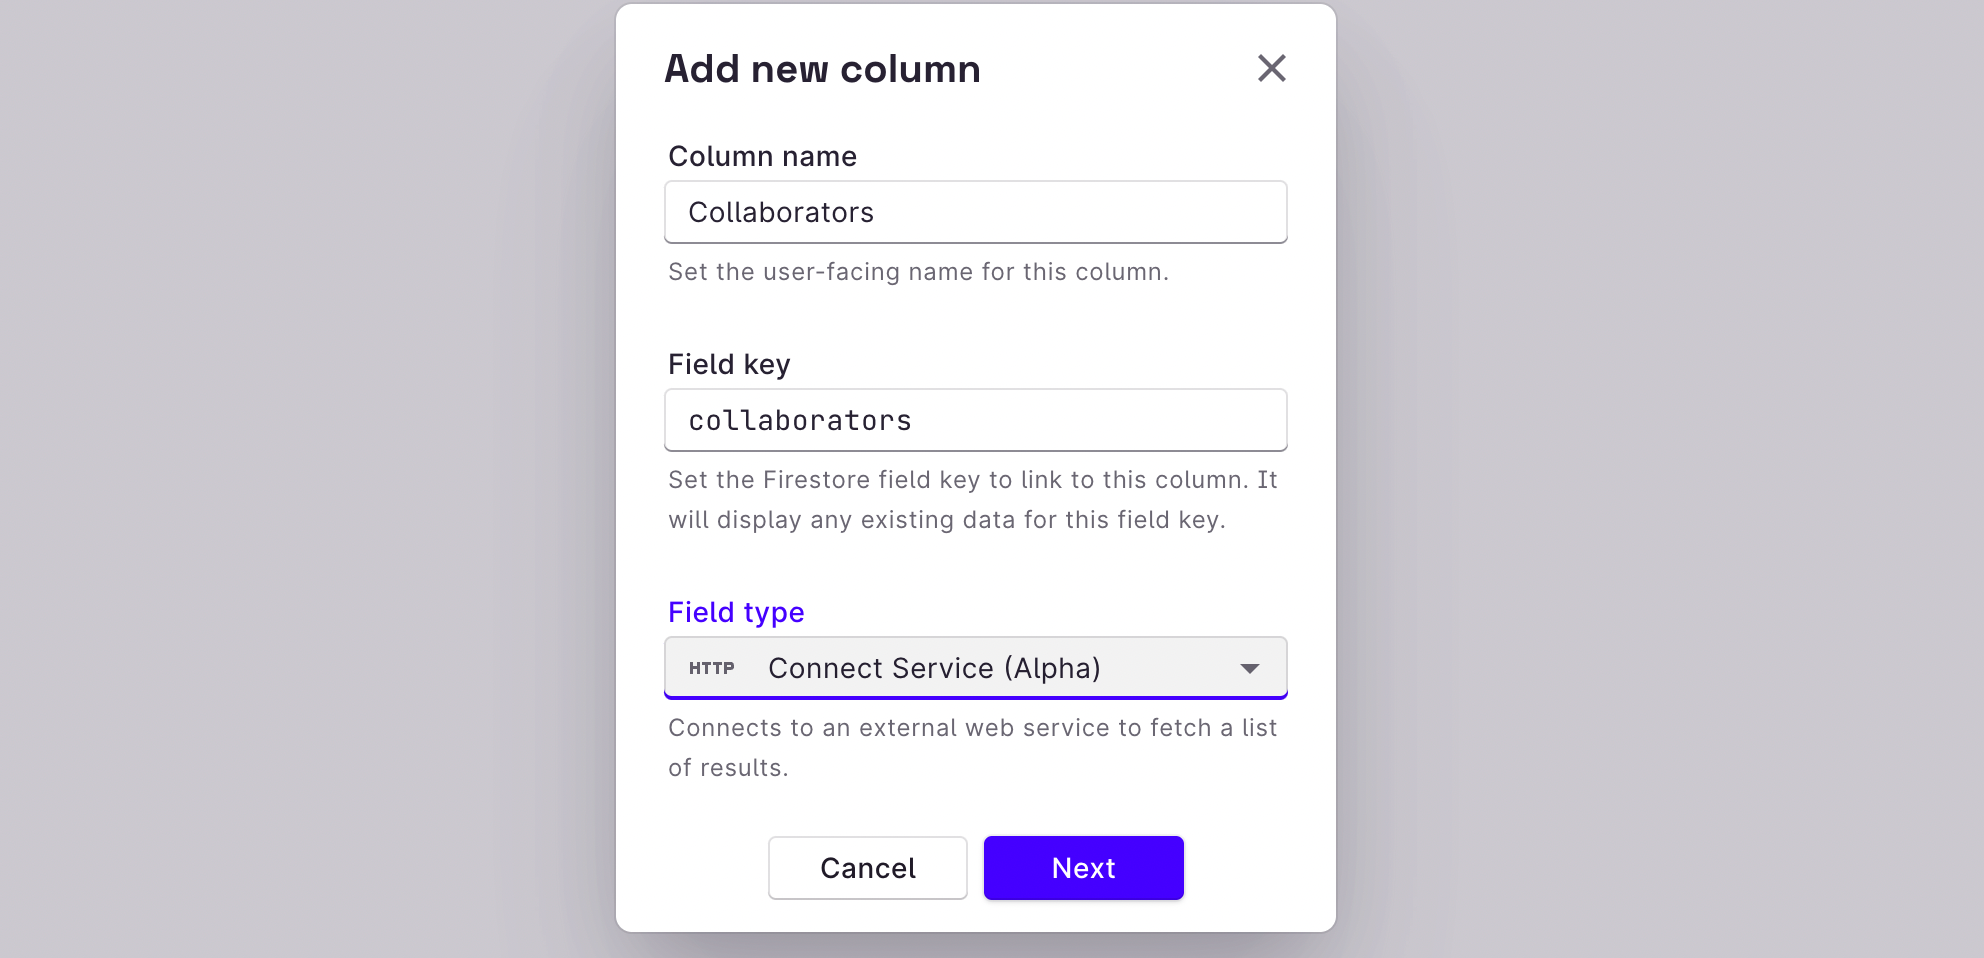
The fun part can now begin! Add a new column in Rowy and select Connect Service. For the example, we will create a collaborator column.
Then you have to enter the corresponding information. Replace YOUR_PROJECT with your project id. The correct URL was shown as the result of the npm run deploy.
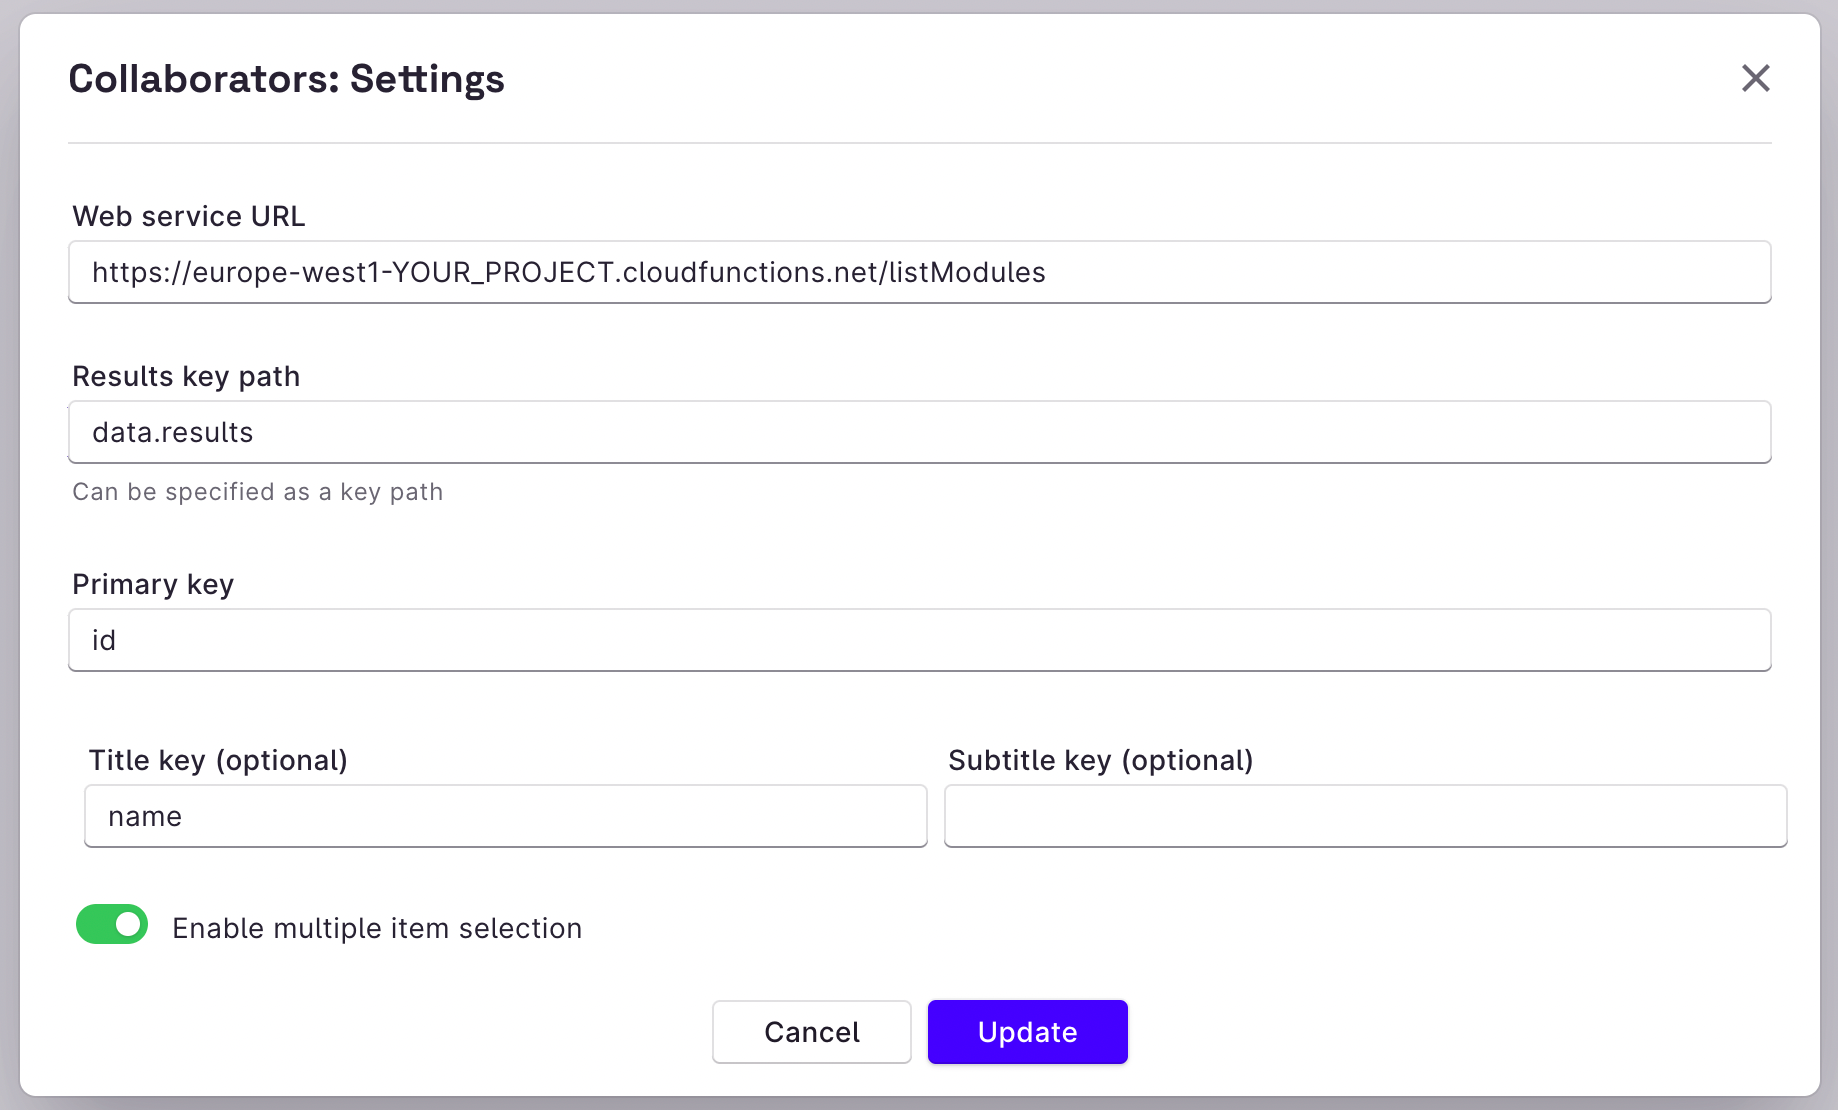
Results key pathcorresponds to the path in the JSON object to look for the list of documentsPrimary keyis the key in your object that will be verified to tick the checkbox or not in the multi-selectTitle keyis the key to be displayed in the field once everything is saved.
Tada! ? You can finally click on any row and add the collaborators easily!
But what does it look like in the database?
[
  {
    "id": "7lCZH1xxlzyiGeC1bknl8sSRBvgJ",
    "name": "Guillaume",
  },
  {
    "id": "2AAZH1xxlzyiGeC1G52nl8sSRBOP",
    "name": "Marion",
  }
]
If our Cloud Function had returned even more data, everything would have been stored in the JSON objects!
Final thoughts
I hope you learn some things from this article. I love Firestore and feel like Rowy is filling the gaps in administrating it! ? If you have any feedback on the article you can reach me on Twitter to ask me any questions.
To not miss my next articles, you can subscribe to my free newsletter below! It's free and you get the articles before everyone!
